Don’t we all love mushrooms? They are great on pizza, when stuffed with meat, or literally with anything! If you love it so much that you want to grow them at home, then trust me you have come to the right place! Growing mushrooms is not like growing any other fruit or vegetable. They have slightly different growing requirements.
In this article, we will cover everything you need to know about growing mushrooms at home – from discussing the different types of mushrooms, growing environments and so much more. You’ll come out as an expert by the time you reach the conclusion.
How Are Mushrooms Different From Other Vegetables?

Mushrooms are interesting living beings. Although we buy them from the grocery section, they are not plants. They don’t have stems, leaves, flowers or fruits. Unlike plants, they cannot photosynthesize or grow via seeds.
Mushrooms multiply by dropping spores from their gills – the part right below the cap. Each mushroom can produce thousands of spores at a time and the spores are both male and female. Once released they form clusters of female spores and clusters of male spores, both called hyphae.
The developed male and female hyphae combine with each other, forming a mycelium. The mycelium is similar to the root structure of a plant. It forms a complicated structure that holds onto the growth formula and forms colonies.
Once the mycelium is developed enough it starts with the fruiting process. The mushroom grows above ground and forms a hyphal knot. This is the top part of the mushroom that makes way above ground. The hyphal knot further transitions to a pinhead, which looks most like a baby mushroom to the naked eye.
Of course, different mushrooms grow at different paces, but this whole process can sometimes take only 4 days!
Mushrooms are nature’s decomposers as they absorb nutrition from the remains of other plants and animals. However, like any fungi, not all mushrooms are fit for consumption and since they grow from decomposed material, it is important to give them the right environment that meets their growth needs and our hygiene needs.
Is It Safe To Grow Mushrooms At Home?
If you are thoroughly aware of the mushroom strain you are planning to grow, use the right spores and provide accurate growth conditions, homegrown mushrooms are going to be safer than wild-caught mushrooms. If you are a beginner, it is always best to start growing mushrooms from a mushroom kit. We will discuss this in more detail below.
Identifying toxic mushrooms
There are around 10,000 mushroom species, but only around 2,000 are known to be edible. If you grow mushrooms using a kit, or the right spores, you would not have to deal with toxic mushrooms, but knowing what you’re growing is always an advantage.

Although there’s singular rule that can help you distinguish between poisonous and non-poisonous mushrooms, usually edible mushrooms look bland and unattractive. It is best to avoid mushrooms with bright colors and hues. Avoid red mushrooms with white pits – you know the ones we see on mushroom sketches. Additionally, mushrooms that have a white skirt-like ring are also poisonous.
The thing with mushrooms is, it does take an expert to identify the safe ones from the poisonous ones. For instance, mushrooms like the Funeral Bell, looks completely safe – it’s brown and grows on wood, like many other edible mushrooms, but is in fact deadly for consumption. So, only forage for mushrooms with an expert if you are feeling particularly ambitious. But if you want to safely grow mushrooms, you can stick to mushroom kits.
How do you practice caution while growing mushrooms?
Since mushrooms grow to decompose waste, practicing caution around waste materials is a must. Here are a few simple tips that will help you maintain caution around your mushrooms.
1. Choose the right suppliers
All the elements needed for growing mushrooms – whether a growing kit or an element sourced from different places – must come from reputable sources. Although some mushrooms grow on compost, we would suggest that you stay away from homemade compost at least when you are just learning how to cultivate mushrooms. Mushrooms that grow on untreated waste materials, can get contaminated by the waste.
2. Wear Protective Gear
In rare situations, inhaling mushroom spores can make you sick. If you are prone to allergic reactions you should wear a mask while handling mushrooms. Gloves and protective goggles add an extra layer of safety as well. The last thing we want is self-contamination and cross-contamination.
3. Maintain proper ventilation
Although mushrooms love dark moist places, too much humidity may lead to molding which will ruin a good batch of mushrooms. So make sure the humidity in the room is intentional and controlled.
4. Handling Substrates
When growing mushrooms you are likely to handle 2 types of substrates:
- Compost manure
- Wood
When handling growth substrates, you must understand that each must be treated properly to remove potential biohazards. Additionally, they may cause respiratory problems (with wood shavings) hence you must choose the cultivation area carefully.
What Do You Need Before You Start Growing Mushrooms?
Ideally, if you grow it through a reputable mushroom growth kit you should get everything you need. As beginners, a mushroom kit manages the quality and safety of your product for you. It reduces the chances of contamination, or breeding mushrooms that are unfit for consumption.
Most mushroom growth kits come with a sterile syringe and the sterilized grain packed in a grow bag. Some kits come with a growth tub and nutrient substrate. As a beginner, I would suggest purchasing all of these before starting out. Perhaps the only thing you can make at home is the growth tub. If you do make it at home you should take extra precautions to keep the container sterile.
Here’s how you can make your own grow tub:
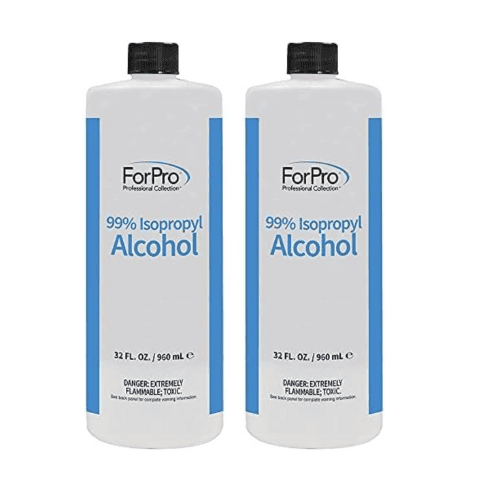
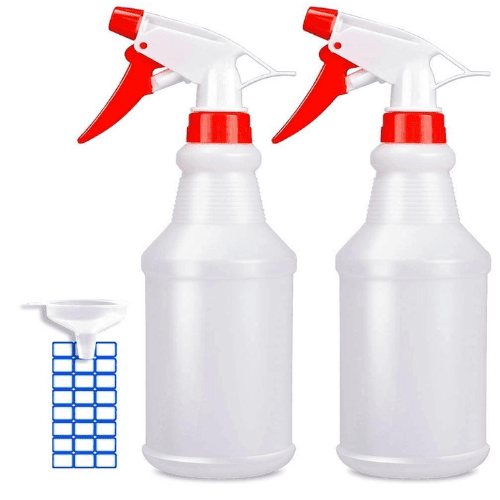
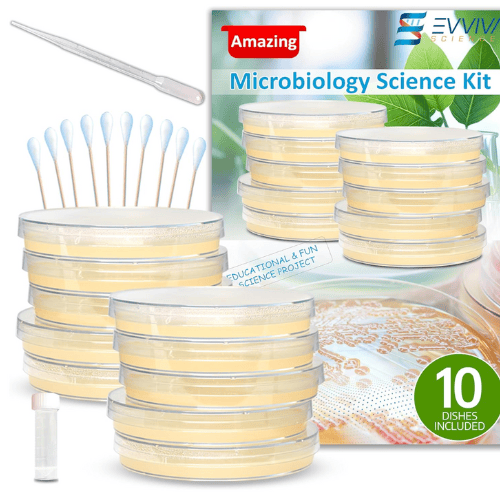
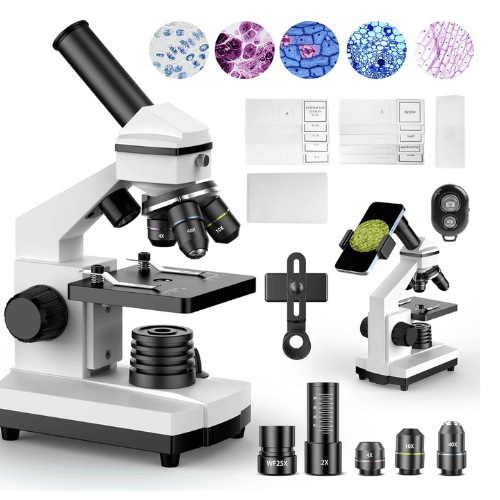
Apart from the things mentioned above, you should also have a pair of rubber gloves, a 70% isopropyl solution, scissors, a spray dispenser, and cotton balls. If you want to store spawn from your harvest, you should have Petri dishes, aluminum foil, agar solution, and a microscope.
I know a microscope seems a little too excessive and you will not need it as a beginner or if you are just growing it for the family. Only use a microscope if you have a little experience, are sure you want to do it long term or grow a larger batch for the market.
Check out what you need here:
First Method – Growing Mushrooms From A Kit
Mushroom kits provide the easiest and safest way to grow mushrooms. I always suggest mushroom kits for first-time growers. In the kit, you usually get a spore syringe and a grow bag. You might have to purchase a sterile needle if it doesn’t come along with the growth kit. Injections you get in the market are sterile and safe to use on the growth bag.
Step 1 – Colonization in the Growth Bag

Add the syringe needle to the spore syringe and inject it into the growth bag. Try to inject it multiple times through different angles to increase the success rate of the next stage. The mycelium in the syringe will fuse with the opposite-sex mycelium and start forming colonies.
You can let the bag sit without touching it and it might take around 60 days to colonize the bag. However, if you want to speed up the process, keep an eye on the bag and break it up when around 30% of the bag has colonized. You might see it as a white patch on 1 side of the bag. This process takes about 1 week to 10 days, depending on the size of the bag. Once you break the colony gently with your hands, the mycelium spreads to different parts of the growth bag and starts building colonies there, thus speeding up the process and cutting down the wait time by at least 50%.
Step 2: Transferring onto a Grow Tub
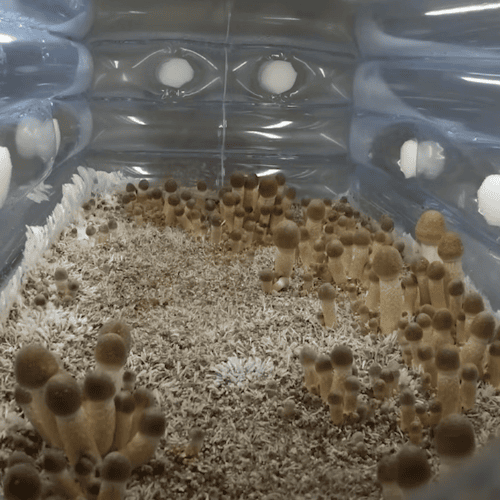
You can either buy your own grow tub or make one from the video above. Some grow kits come with a grow tub which saves a lot of time. But making your own grow tub is worth the time and effort if you want a cost-effective long-term solution.
The next thing you need is your bulk substrate. This is what the mycelium will feed on when they form colonies within the tub. Grow kits may come with a bulk substrate or may specify how to make it, because different mushrooms require different nutrients to feed on.
Make sure you sterilize the tub and everything attached to the tub (like the plugs) with the 70% isopropyl solution and add a layer of the bulk substrate to the tub.
Cut open the grow bag with a sterilized pair of scissors and take a quick smell before transferring. The grow bag should smell earthy. If anything smells foul or rotten, the batch is spoiled and you should start fresh.
Gently break the mycelium on the grow bag before adding it to the tub. Make sure you are in a sterile environment, with clean surgical gloves. You can spray the outside of the grow bag and the inside of the grow tub to make sure nothing gets contaminated while transferring the mycelium onto the grow tub.
Once the mushroom spawns are in the tub, you can transfer some of the growth substrate onto the tub and mix. Mix the two and gently flatten it out. Do not press onto the mixture, it might damage the mycelium. Once everything is mixed and flattened out, you can add the remaining growth substrate to the tub.
Next, make sure you plug in the holes at the top of the tub, and seal everything shut. If you have a hole cut for the fan, you can seal it with tape. Now wait patiently for the spawn to colonize further.
Step 3: The Fruiting Process

In around 8 – 10 days (depending on the size of your growth tub), when 80% of the tub has colonized you can start with the fruiting process. During this stage, we want to encourage some airflow into the tub. Remove all the plugs you had inserted in the beginning and replace them with foam filters or cotton balls. The gentle airflow will indicate to the mycelium that it needs to go onto the next stage – pinning.
If you have inserted a fan in the tub, you can remove the cover on it and keep it at a low speed for a minute twice a day. Make sure to cover the fan again once you are done using it. If you are not using a fan, you can open the top lid and fan the mixture from the top without directly fanning the mycelium. Make sure your hands are completely sterile and dry so that you don’t accidentally contaminate the tub.
Repeat this process until the mushrooms grow and are ready to harvest. The whole process may take a few days.
Step 4: Harvesting

When the mushrooms break their veil, that’s when you can start harvesting. You can let it grow for a few days before you harvest. Use a sterilized sharp cutter, or scissors to harvest the mushrooms. Try to cut it by preserving as much of the substrate (which we can use for the next growth cycle). If you don’t want to use scissors you can gently twist it at the bottom to separate it with your hands.
Make sure you wash the mushrooms thoroughly before cooking, you can also store them in the deep freezer for your next use.
Step 5: The Second Harvesting

Professional mushroom growers might stick to optimizing a single flush, but if you are a home grower, you can use a single kit for multiple flushes. Since the quality of the mushrooms depletes over time I would not recommend using a kit beyond 4 flushes.
For the second harvest, check the sides of the tub for any condensation. If it is completely dry, gently mist the sides of the tub, without pointing your bottle on the mushroom bed. Once you are done misting, fan the tub, like you did during the fruiting process twice every day.
Mist and fan every day but make sure to check the sides of the tub before misting. You can skip the misting process if the tub is dry.
Harvest the mushrooms once they are ready, and repeat the harvesting process until you stop getting enough yield.
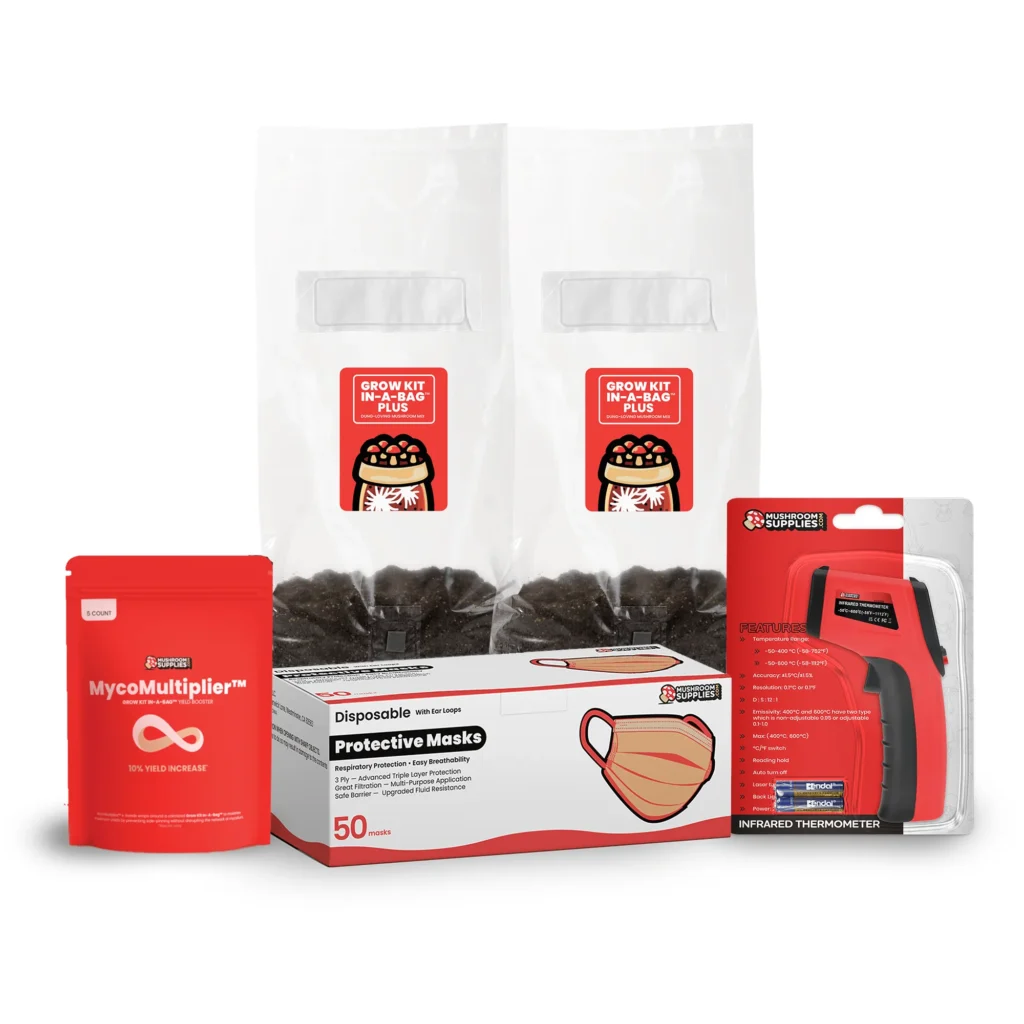
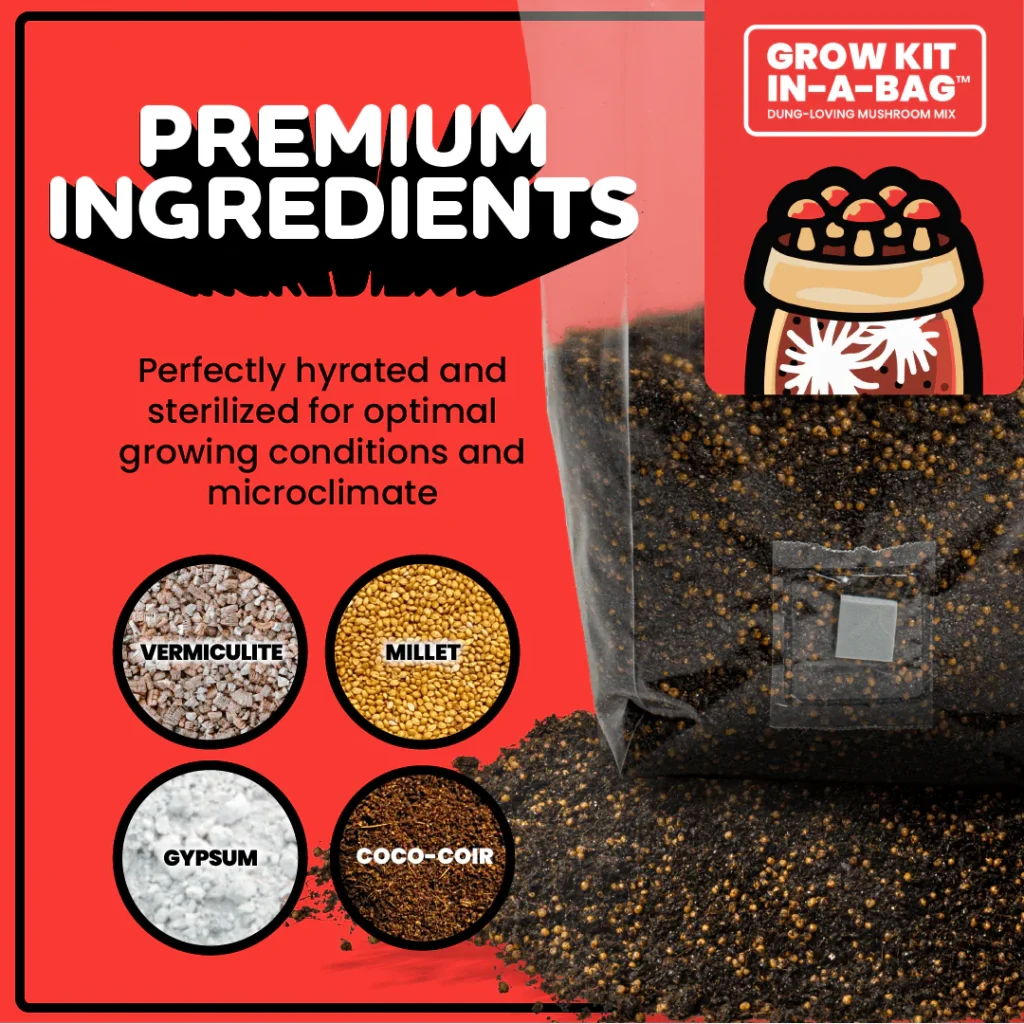
Here are 2 beginner-friendly mushroom growing kits:
Second Method – Growing Mushrooms in a Bucket

Growing mushrooms in a bucket is not very different from growing them through a kit. You can buy the mycelium of a known mushroom strain – oyster mushrooms or button mushrooms and perform step one. Then we can go on to the next stages:
Step 1: Preparing the Bucket
Take a clean bucket. You can wash it thoroughly and let it dry completely. Then use the isopropyl solution to wipe the inside and the outside of the bucket. Make drainage holes all over the bucket. If the bucket does not have a lid, you may need to cover it with plastic wrap.
Step 2: The Growth Substrate
As mentioned above the growth substrate depends heavily on the mushroom you want to grow. Sterilize the growth substrate right before you are ready to transfer the colonized mycelium into the grow bag.
Here are some excellent growth substrates to look into:
Step 3: Mix Spawn with Substrate
In a clean environment, mix your mushroom spawn into the prepared substrate. The ratio is typically about 5% spawn to substrate (e.g., 1 cup of spawn for 20 cups of substrate). Many cultivators say that layering the growth substrate with the spawn works well too. Make sure the first and the last layer has the growth substrate.
Pack the substrate and spawn mixture into the bucket, pressing down gently to remove air pockets but not too tightly that there’s no air for the mycelium. Leave some space at the top of the bucket.
Step 4: Incubation
Cover the bucket with a lid or plastic wrap. For additional safety, place the bucket inside a garbage bag without tying the top to make sure there is little ventilation. Place the bucket in a dark, warm place (about 65-75°F or 18-24°C) for 2-4 weeks. During this time, the mycelium will colonize the substrate.
Step 5: Fruiting
Once the substrate is fully colonized (it will look white and fuzzy), move the bucket to a cooler, well-lit area. Expose it to indirect light and fresh air by opening the lid and fanning it for 30 seconds twice a day, similar to how we did it through a grow kit. Maintain humidity by misting the surface with water or using a humidity tent.
Step 6: Harvest
Mushrooms should appear in 1-2 weeks after moving to fruiting conditions. Harvest them when the caps are still closed or just beginning to open. Use a clean knife or scissors to cut them off at the base.
Third Method – Growing Mushrooms on Logs

Certain mushrooms grow well on logs and there are kits made specifically to speed up the process. These mushrooms are usually grown through plug spawn – which is just mycelium that has been colonized on sawdust and wood shavings and shaped into wooden dowels. You can make plug spawn at home, but the process can take up to 10 months to a year. Using plug spawn from a reputable seller guarantees 2 things:
1. The plug spawn is uncontaminated
2. You have a single strain of mushrooms hence the chances of growing a poisonous mushroom are reduced to 0%.
However, if you want to create the plug spawn from scratch you must follow the steps ahead:
Step 1: Using a grow bag
Step 1 is the same as when you would grow the mycelium from a kit. Purchase a mycelium strain of mushrooms that can grow on wood – like the shiitake mushrooms.
Step 2: Preparing the growth substrate
You can buy shiitake growth substrate from the market as well. To make it at home, you need to mix 20 parts hardwood, 2 parts wheat bran, and 1 part gypsum. Mix them well and add hot water to the mixture. Let this mixture absorb all the water after which you can cook it in a regular pressure cooker for 1.5 to 2 hours.
Step 3: Preparing the plug spawn
The mycelium prepared in step 1 is then made to colonize onto the growth substrate and is later turned to wooden dowels called plug spawn. Since this is a difficult, time-consuming process, many people skip these 3 steps completely and grow their mushrooms from the store-bought plug spawn.
Growing Mushrooms On Logs (After You Have The Plug Spawn)
Log-grown mushrooms have specific requirements. For instance, Shiitake grows better on hardwood.
Step 4: Preparing the logs
Drill holes on the logs at least 3 inches apart and as deep as the plug spawn. Add the plug spawn into the holes and cover completely with sawdust. Covering the plug spawns ensures there isn’t too much moisture in the holes.
Step 5: Moisture control
Store the logs in a shaded spot away from the sun and rain.
Step 6: Growth and harvest
It takes a few days to a few weeks to see the pins forming on the logs. You can harvest the mushrooms once the gills (or the part of the mushroom that releases spores) have fully developed. The edges of the mushroom’s cap tend to curl around the gills when it has developed into a mature mushroom.
How To Store Mushroom Spawns
Let’s say you have grown a few successful batches and are now ready to grow some mushrooms from the ones you raised at home. Growing mushrooms by harvesting your spawns is a waiting game but it does give a feeling of self-sustenance if you do it right.
To store mushroom spawns you need:
- The caps of fresh mushrooms/tissue from the inner part of the stem of the mushroom
- A spore chamber: This can simply be a clean and dry plastic box that has been disinfected with an isopropyl solution
- Isopropyl solution
- Aluminum foil
- Plastic pouches or small ziplock bags
- Sterile loop
- Agar solution
- Petri dish
- Parafilm
- Microscope (optional)
- A grow bag
- Sterile blade
The Process
If you use the caps of fresh mushrooms:
- Gently place the mushroom caps face down on the aluminum foil. You can add a lightweight on top and keep it aside for a day.
- In about a day the spores will drop from the mushrooms onto the aluminum foil. They will form a circular blotch on the foil.
- You can store the spores for later use by covering them in another aluminum foil and folding them carefully (making sure there is no crease on the spores). Store them inside a ziplock bag, and keep them stacked in a spore chamber. Keep the chamber in a cool and dry spot until you are ready to grow mushrooms.
How to grow mushrooms from harvested spawns
- When ready to use them, you can use a sterile loop to take some of the spores and place them on a petri dish with agar solution.
- Wrap the Petri dishes with parafilm
- Store them at room temperature. In about 5-7 days you will notice the colonization process take place
- During this time you can check for contamination through a microscope. Look for patches of a different color (usually black or brown) to identify contamination. Of course, this step is optional but should be included if you want to grow mushrooms commercially.
- When you are assured that the mycelium is free from contamination, you can transfer it onto a grow bag. Open the top part of the grow bag, cut some of the colonized agar, and place it into the grow bag. Try to add pieces in different parts of the grow bag, and massage it with your hands from the outside to mix it into the solution. Vacuum seal the bag and you can grow the mushrooms as mentioned above.
If you use mushroom tissue:
- You can skip the storing process. This means that you do not require a spawn chamber, aluminum foil, ziplock bags, etc, and directly prepare a petri dish with agar. Slice a mushroom from the middle and cut a small portion from the inside of the mushroom stem.
- Place it on the dish, cover it, and tape it with parafilm.
- The next steps are the same as above.
Which Mushrooms Should You Grow?
Of the edible varieties, only a few can be cultivated. So if you start farming mushrooms, you belong to a small group of mushroom enthusiasts.
Mushrooms are divided into three groups: saprobic, mycorrhizal, and parasitic. Saprobic mushrooms grow on dead organic matter and are the easiest to cultivate. Usually, these mushrooms are more abundantly available in supermarkets and can be cultivated by home growers. Most mushroom kits have saprobic mushroom strains. Common saprobic mushrooms are oyster mushrooms, button mushrooms, paddy straw, and a few others.
Mycorrhizal mushrooms are difficult if not impossible to cultivate because they form symbiotic relationships with trees. Commonly known Mycorrhizal mushrooms are truffles. Shiitake also grows on bark but the difference here is Shiitake needs to take nutrition from a dead tree whereas truffles need to grow around live trees. This is why growing truffles can be an expensive affair, which is why most mushroom experts would much rather harvest truffles than grow them from scratch.
Parasitic mushrooms are perhaps the most complicated to grow because they need a live growth substrate to eat through and colonize. Since the substrate is live, it increases the chances of contamination of other fungi and bacteria. People do grow certain parasitic mushrooms like the cordyceps mushroom, but if you are just starting out, it is best not to dabble with parasitic mushrooms at least for the time being.
How To Store Harvested Mushrooms?
The thing about mushrooms is that they continue to grow even after you harvest them. This is why if you grow a large amount of mushrooms, they won’t last too long if you just harvest them and leave them in the fridge.
You can enjoy fresh mushrooms for up to a week if you store them in the regular fridge. But if you want to savor them for much longer here are a few ways to do it:
1. Storing Them Fresh

When we store mushrooms in a plastic container with a plastic wrap on top, it increases the shelf life. Make small holes in the plastic wrap, this would provide some ventilation for the mushrooms and reduce rotting. The cold air in the fridge will slow down the growth.
Storing Them In The Deep Freezer
Now there is more than 1 way to do this. You can simply store the mushrooms whole in a ziplock bag, remove as much air as possible from the bag, and store it in the freezer.
However, to reduce the chances of decay, you must make sure the mushrooms are completely frozen. To do this you can cut the mushrooms from top to bottom. A single slice is fine for button mushrooms and bigger mushrooms might need 3-4 slices. Line a tray with parchment paper and place the mushroom pieces without overlapping them. Pop them in the freezer and wait a day or till they are completely frozen before filling a ziplock bag.
A vacuum sealer may come in handy for both these methods, but if you don’t have one handy you can try to remove as much air as possible before storing them away.
2. Cooking and Storing

By precooking the mushroom, you remove most of the water content which is the primary factor for decay. Cook the mushrooms in butter, on low heat and preferably in a heavy pan. Keep stirring to avoid browning. Although not compulsory, you can add some flavor, salt, and seasoning to the mix. Sauté until all the water has come out of the mushroom and evaporated. Turn off the heat and let it cool.
When the mushroom loses all its water, it has a longer shelf life. The butter coating adds a layer of fat, contributing to an increased shelf life as well.
You can eat some of the mushrooms immediately, but to store them you need to wait till they are cool so that you can freeze them in a ziplock bag. To improve the shelf life even further, you can store the mushrooms with the bag open, wait till all the mushrooms have frozen and then vacuum sealing and zipping the bag shut. To make sure the mushroom stays fresh for each cook, you can separate the mushrooms per cooking batches and store them.
3. Using a dehumidifier

A dehumidifier removes the moisture from the mushroom by cooking it slowly. The whole process may take about 12 hours but you will get mushrooms that will last you for up to a month if you store them in this method.
Simply cut the mushrooms to speed up the process. A single slice through the middle is fine for button mushrooms, however, bigger mushrooms might need 2 to 3 slices. Place them in a tray without overlapping one another and cook it at 40 degrees Celsius for 12 hours.
Can You Grow Mushrooms At Home For a Profit?
Yes, some mushrooms are easy to grow for a profit. To make sure you get the best out of every yield, you need to have a large enough basement to grow them in large quantities. Home growers, who also sell mushrooms, need to make a few adjustments either in their house or a separate basement to get a good, clean yield. Most of these adjustments are single one-time adjustments with minor year long maintenance.
Some commercial growers have separate rooms for the colonization and fruiting process. This way they can maintain consistent conditions for mushrooms at different stages of their life.
Maintaining cleanliness in these rooms is crucial. The last thing we all need is a bad reputation for our commercial product. Make sure the humidity is properly regulated and every strain is tested for contaminants before building colonies.
Conclusion
So here’s everything you need to know about growing mushrooms at home. We covered everything from how to start growing mushrooms at home to using mushroom kits. We hope this inspires you to build a lifetime supply of mushrooms.


